How to Make Air Dry Clay at Home
Have you ever wondered how to brand air-dry dirt at home? Information technology'south a keen crafting tool and many people use it, especially if they have little ones that love sculpting. A lot of adults enjoy sculpting with information technology too. After all, few people take access to a kiln for firing clay properly, so air dry out clay is a slap-up solution!
Fortunately, information technology's easy to make, takes simply a few ingredients, and is a pretty quick process, so you lot can whip up a batch with very fiddling time and effort whenever your trivial creative person wants to get their fingers glutinous. There are lots of different recipes, so here is a selection for yous to try out.
See which you like the best, and y'all've got a great become-to recipe for whenever your little one wants to become artistic.
Cornstarch Clay
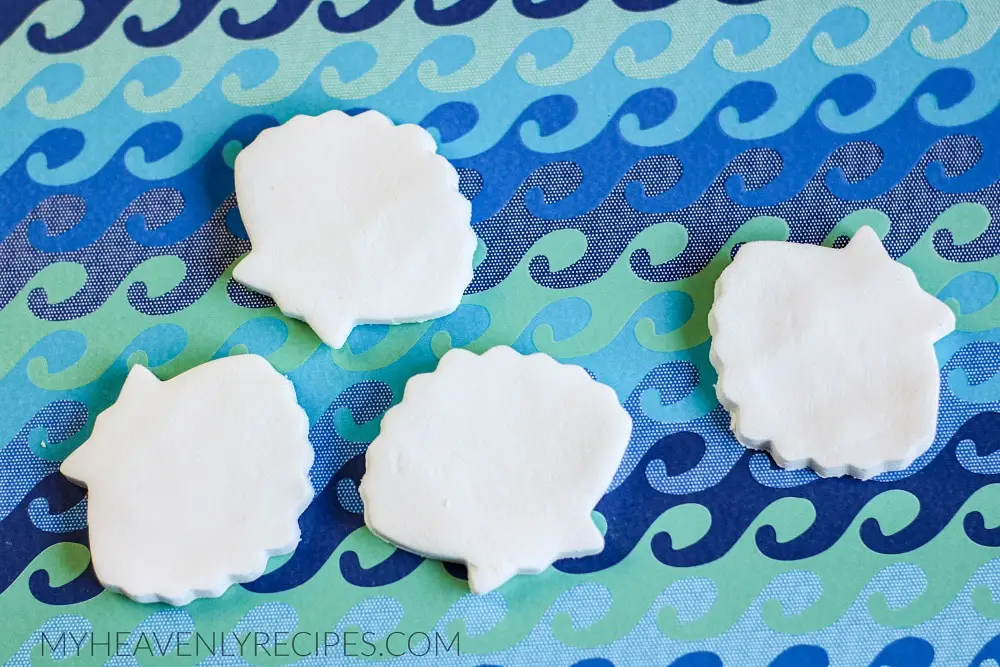
Source: https://myheavenlyrecipes.com/how-to-make-homemade-air-dry-clay/
Materials
Cornstarch dirt ingredients include:
- ane cup of cornstarch
- 2 cups of baking soda
- 1.five cups of water
- Food coloring
- Pocket-size pan
- One-time spoon for stirring
- Airtight container
- Ziplock handbag/plastic wrap
Stride 1: Mix Together And Heat
Stir all the ingredients together in a non-stick pot, so put the pot on medium heat. Cook and stir for a few minutes, watching as the mixture starts to become thicker.
Don't be tempted to bustle this step; if you don't cook the stickiness out of the dough at this point, information technology won't work well, and you'll end upwards with a splodgy mess everywhere.
Y'all should see the mixture starting to pull away from the edges of the pan before yous consider it finished. If you poke the mixture, information technology shouldn't feel too gluey to the touch.
Pace 2: Go out To Cool
Turn the heat off and set the pan aside to cool, leaving information technology covered while it does. When it has gone completely cool, you need to find a way to minimize the airflow to your clay if you aren't using it straight away – you don't want it drying out before you lot've had a hazard to sculpt it!
Yous can use plastic wrap for a really constructive airtight seal; if you lot're eco-witting and don't desire to utilize information technology because of the planet, recall that if yous cut a large piece, y'all tin utilize information technology over and over again. This may reduce waste matter in the dirt condign unusable considering it has dried out.
Alternatively, you could utilise a ziplock handbag and make certain you have squeezed all the air out of it; this can besides exist reused.
Once the clay is wrapped upward, transfer it to an closed container for a 2nd layer of protection and seal the container well.
Always keep the clay covered. When you lot're using it, leave the part you aren't working on wrapped upward, inside a tub with the lid on to preserve it equally much equally possible. This might seem excessive, only half-dried clay or fully dried clay will be no good for your kid's project!
Slime Ingredients Clay

Source: https://www.kitchentableclassroom.com/air-dry-clay-an-like shooting fish in a barrel-diy-recipe/
Materials
Slime ingredients clay requires:
- 1 tablespoon of infant oil
- 1 teaspoon of lotion
- 1.v cups of cornstarch
- one cup of white glue
- 1 tablespoon of vinegar (ideally white vinegar or your clay may await dark-brown)
- Extra cornstarch
- Bowl
- Spoon for stirring
- Airtight container
- Ziplock bag/plastic wrap
Step 1: Mix The Dry out Ingredients
Mix together the dry out ingredients in a bowl until the mixture is smoothen.
Step 2: Add The Wet Ingredients
Stir in the wet ingredients and begin to mix. It may accept quite a bit of mixing, but don't worry if the dirt stays sticky-looking; this is normal at this indicate.
Stride 3: Knead The Clay
Dust your hands with extra cornstarch and first to knead the clay, adding more cornstarch a little bit at a time. The clay volition continue absorbing it, but stop earlier information technology becomes dry and fix to crack.
Information technology should be only past the bespeak where information technology stops sticking to your hands but is still soft and damp. This is perfect for modeling.
If your dirt ends up a scrap too dry, just put a footling more baby oil on your easily and work it in until you're satisfied with the consistency.
Footstep 4: Shop In An Airtight Container
Unless your lilliputian 1 is ready to sculpt direct away (or you are!), make sure yous have a ziplock purse and a container at the fix to tip the clay into so that it will stay soft and pliable, ready to use.
You can also store your clay in the fridge, which will reduce the airflow and go along the clay simply slightly damp, helping it to last longer. Making certain your clay is in a big blob, rather than rolled out sparse, volition help too.
Flour Dirt
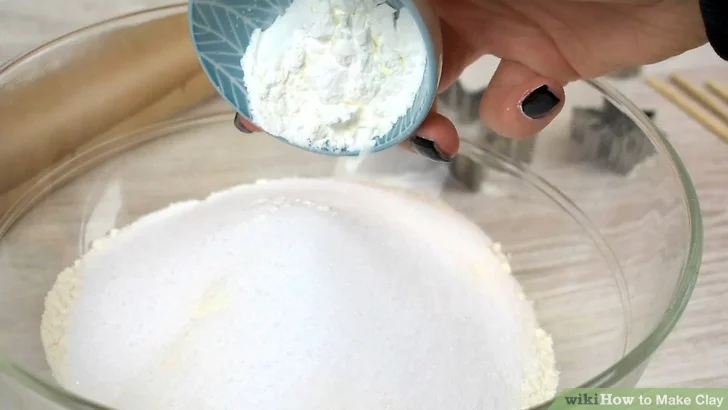
Source: https://www.wikihow.com/Brand-Clay#Making-Flour-and-Common salt-Dirt
Materials
Air-dry clay ingredients include:
- 1.five cups of common salt
- 1.5 cups of h2o
- four cups of flour
- Bowl
- Spoon for stirring
- Airtight container
- Ziplock bag/plastic wrap
Pace 1: Mix The Dry Ingredients
Combine your salt and flour in the bowl, stirring until they are well-mixed.
Footstep two: Slowly Add together The Water
A little at a time, add h2o to your dry out mix, stirring it as you go. You volition start to see the flour mixture combine into a ball.
Continue calculation water, going slowly so that the mix stays smoothen and you lot don't end upward with lumps in it. Don't only add all the water and terminate, merely keep an eye on the dirt's consistency; you may find y'all need a bit more than or a chip less than expected.
Continue adding information technology slowly and mixing it in until your dough is soft and sticks to itself, but not the bowl or the spoon. At this point, you should have plenty.
Step 3: Store In An Airtight Container
Again, y'all need to make sure your clay is in an airtight container if you aren't using it direct away. Wrap it up and seal information technology into a Tupperware if possible, for your kids to enjoy afterward.
This kind of dirt is great if y'all want to paint it once it has finished drying out, though you lot should remember that air dry out clay tin take a surprisingly long time. Large projects could accept three days or even longer. Brand certain it is completely dry before you try and paint a project.
Considering this dirt uses edible ingredients, it's a safe ane for young children. This is very reassuring if you desire to practise some crafts with your little i and they are prone to putting their art into their mouths, though they'll observe it tastes disgusting if and when they try it!
Determination
At that place are many air-dry clay recipes y'all can try. Experiment with all of them and encounter which produces the best and nigh professional results! You may discover that you lot adopt different choices for different projects, just information technology's great to have the options.
If yous find that your dirt cracks readily, try to get a trivial more moisture into it next time. If your clay is also sticky and slumps when you lot sculpt, add slightly more dry ingredients. Retrieve that very big projects ofttimes will crack more, and encourage your child to sculpt small and medium things instead.
morrisontheirignishe.blogspot.com
Source: https://craftwhack.com/how-to-make-air-dry-clay/
0 Response to "How to Make Air Dry Clay at Home"
Post a Comment